Monthly Archives: October 2009

Chicken with Basil Butter and Succotash

Food Blog 068

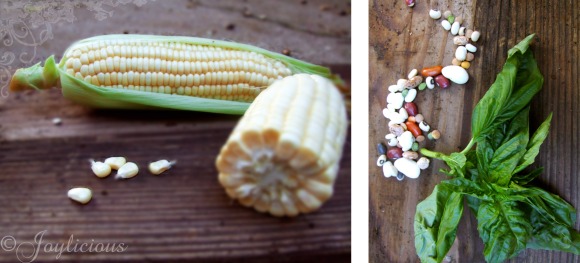
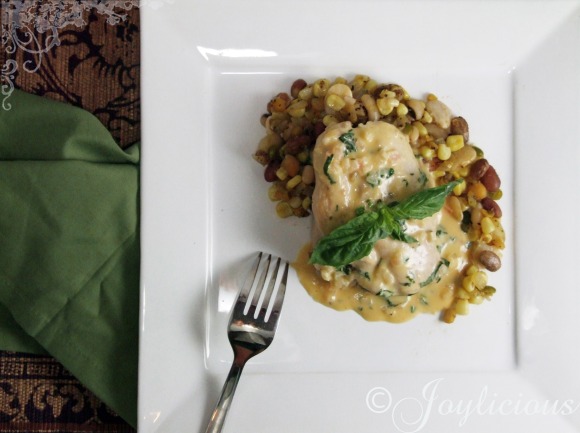
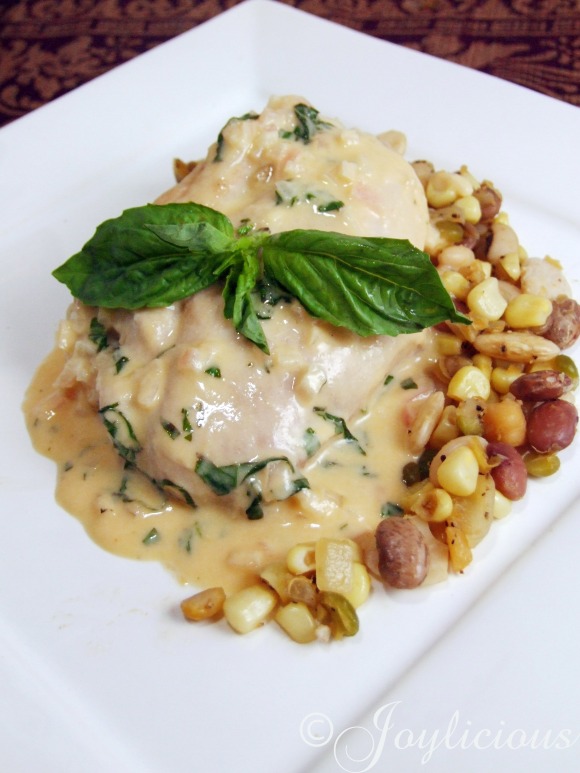
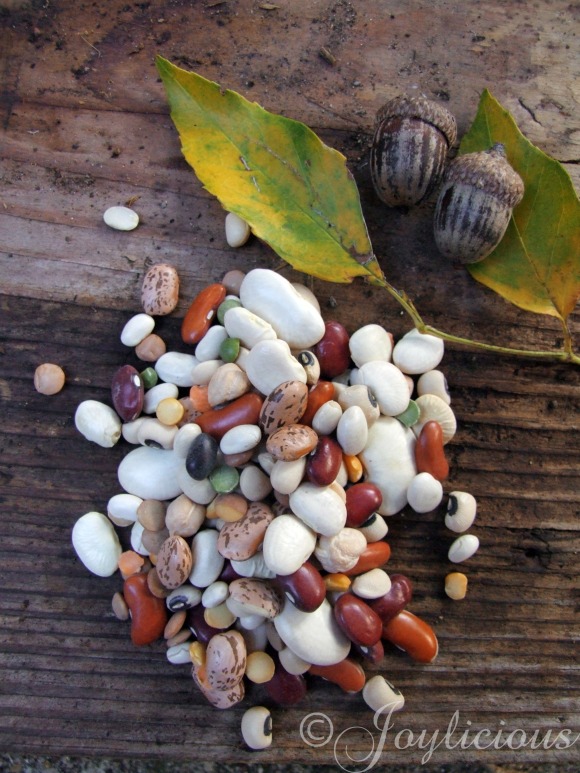
Beans beans the magical fruit, the more you eat the more you…well you know how the rest of the saying goes.  Either way my fiance is stuck with me and what better way to use beans than in succotash! Succotash became popular during the Great Depression since beans were one of the few items that were cheap and readily available.  I managed to grab the last few ears of corn before having to wait til Summer to eat it again.  It’s a great dish for those cool fall nights, with the earthiness of the beans and corn enriched with the beautiful basil butter, it will leave your tummy happy and satisfied.

Untitled-1

Ingredients for Succotash:

  • 1 1/2 cups dried mixed shell beans, such as lima, flageolets, fava, cranberry, kidney, or butter beans (allow to soak overnight)
  • 2 tablespoons unsalted butter, softened
  • 1 tablespoon olive oil
  • 1 cup fresh corn kernels (about 1 large ear of corn)
  • 1 small white onion, diced
  • 1 cup chicken or vegetable stock (can be store bought)
  • Kosher salt and black pepper to taste
  • 4 chicken breasts or thigh, cut and trimmed

Ingredients for Basil Butter:

  • 1 large shallot, finely minced
  • 1/2 cup chicken or vegetable broth
  • 1/2 cup dry white wine, such as Chardonnay
  • 1 teaspoon freshly squeezed lemon juice
  • 1/3 cup heavy cream
  • 2 tablespoons of cold unsalted butter, cut into tiny cubes
  • 4 tablespoons fresh basil, cut into chiffonade

What the heck is chiffonade? It’s a technique of cutting ingredients like herbs into ribbons.  You stack the leaves ontop of each other and roll them into a cigar-like shape, the cut the roll crosswides and the pieces will unravel in ribbons.

Food Blog 072

For the succotash, bring a large pot of salted water to a boil and fill a large bowl with ice water.  Add the beans to the boiling water and blanch for 3 to 4 minutes, drain and transfer to the bowl of ice water.  This will “shock” the beans and stop them from cooking as well as set the colors.  Drain again and set aside.  Heat a large and deep saucepan over medium heat with 2 tablespoons of butter.  Once it has melted add the onion and cook until soft and translucent, about 8 to 10 minutes.  Add the corn and beans and stir to heat through.  Pour in the stock and increase the heat to high.  Cook until the liquid is soaked up by the beans, but leave just enough to coat the vegetables, about 15 minutes.  If the beans are still too hard, simply add more stock and cook it down until they have softened.  However, becareful to not overcook the vegetables or they may discolor.  Season with salt and pepper to taste, cover to keep warm and set aside.

group2

Preheat the oven to 400F.  Heat the olive oil in a large saucepan and saute the shallots.  Place the chicken breast or thigh on top and pour the stock and wine into the pan.  Sear the chicken on both sides and stick the pan into the oven and allow to cook the rest of the way, about 8-10 minutes.  Remove chicken from oven and pour the juices into a medium saucepan.  Cover the chicken with aluminum foil and set aside.  Add the lemon juice to the pan of juices and bring to a boil until reduced by half, about 3-4 minutes.  Stir in the cream and continue to boil for 1 minute.  Reduce the heat down to medium and slowly whisk in the cubes of butter, incorporating each cube before adding more.  Season with salt and pepper and stir in the chiffonade basil right before serving.

Food Blog 074

Plate the succotash with a slotted spoon and divide evenly among 4 plates.  Place the chicken on top and generously spoon over the sauce.  Serve immediately.
Tagged , , , ,

Ginger Roasted Pears with Candied Almonds

Food Blog 056

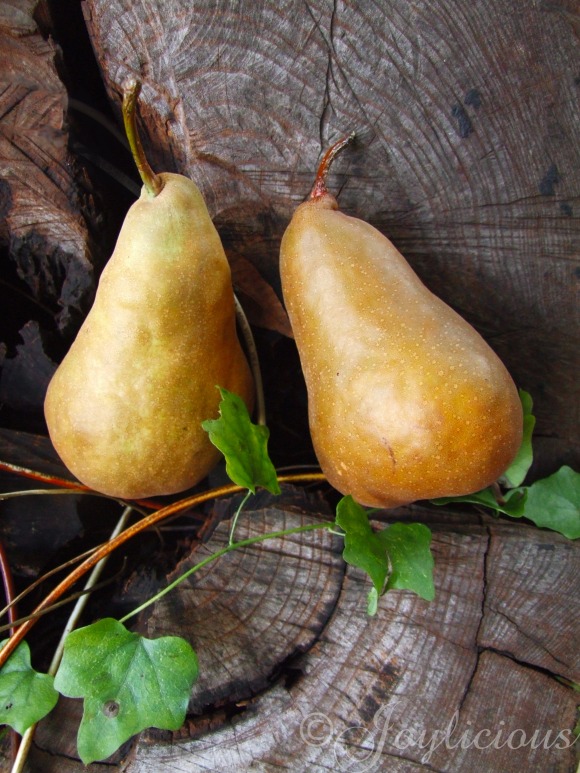
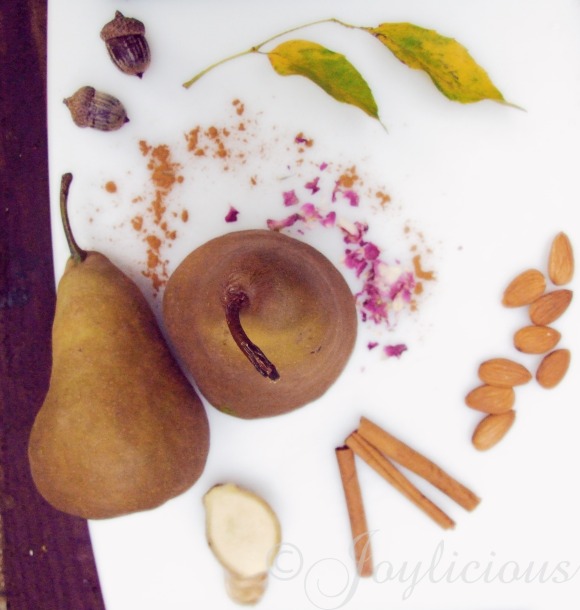
Well be ready for a weeks worth of pear recipes folks!  My local grocery store was selling Bosc pears — 4 pounds for $1.  How could I resist?  I immediately bought $5 worth.  It seemed like a great idea at the time but now I have 20 pounds of pears in my home.   Even my fiance thought I was a little out of my mind, but luckily they are one of my favorite fruits so they will be gone in no time. 🙂

My favorite way of preparing pears would be roasting them.  My mother use to make me roasted pears for when I was sick — however she would hollow out the cores and fill it with mystical (disgusting) Chinese herbs, and even then I still found the pears to be delicious.  The flesh of the pears break down and become very delicate, it simply melts in your mouth.

A few tips on choosing pears:

  • Pick pears that are uniform in size without any bruising or discoloration
  • Make sure they are heavy and firm – the heavier they are the more juice content they have
  • When choosing Bosc pears, pick ones that are greenish-yellow to brownish-yellow
  • If the pears do not smell fragrant simply put them in a brown paper bag for a couple days to quicken the ripening process

Food Blog 053

Ingredients for Roasted Pears:

  • 6 just-ripe Bosc pears
  • 1/4 cup dry white wine
  • 1/4 cup sweet Muscat
  • 3 tablespoons of honey
  • 1/3 cup granulated sugar
  • 12 slices of fresh ginger, about 1/4 inch thick
  • 3 tablespoons of unsalted butter, cut into small pieces

Ingredients for Candied Almonds:

  • 1/4 cup honey
  • 2 tablespoons butter
  • 1 cup brown sugar
  • 1 tablespoon cinnamon

Food Blog 218

To roast the pears, preheat the oven to 400 F.  Peel the pears and slice the bottoms to remove the fibrous core.  Stand the pears on the cutting board and cut them in half, scooping out the seeds and core with a small melon baller or teaspoon.  Lay the halves in a roasting pan, with the cavity side facing up.  Sprinkle with cinnamon and and pour the white wine and Muscat over them.  Evenly coat the pears with the sugar and drizzle with honey and lay a piece of ginger over each pear and dot with butter, roast for 30 minutes.  Remove the pears from the oven and flip them over to the other side, cavity side facing down.  Roast for another 20 minutes and repeat the process with cavity side up.  Pour the roasting liquids over the top and raise the oven temperature to 425F.  Sprinkle the pears with 1 tablespoon of sugar and bake for two more 20-minute periods, basting them each time.  The pears should be tender when a knife or toothpick is inserted, with a shiny coating and slight carmelization on the sides.  Allow the pears to cool in the roasting pan and reduce the oven down to 350F.

Untitled-1

While the pears are cooling, prepare the candied almonds. Boil water in a small sauce pan and blanch the almond slices for about a minute.  Drain and mix with brown sugar, honey, and butter.  Using a slotted spoon, trasnfer the almonds to a well greased sheet pan to prevent the almonds from sticking. Bake for 5 minutes or until a toasted golden brown color, the sugar should be carmelized.  Set aside and cool.

Food Blog 216

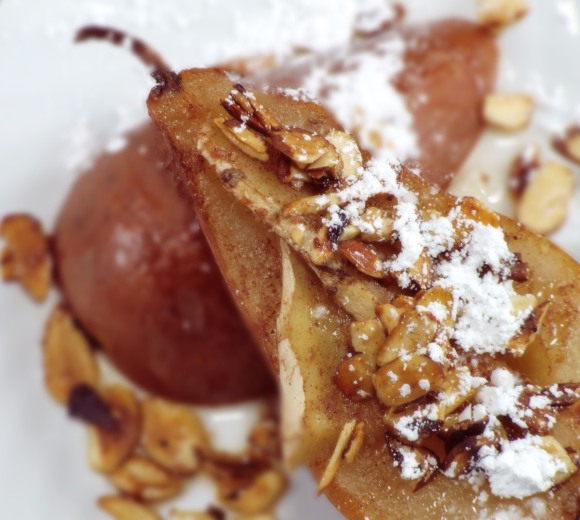
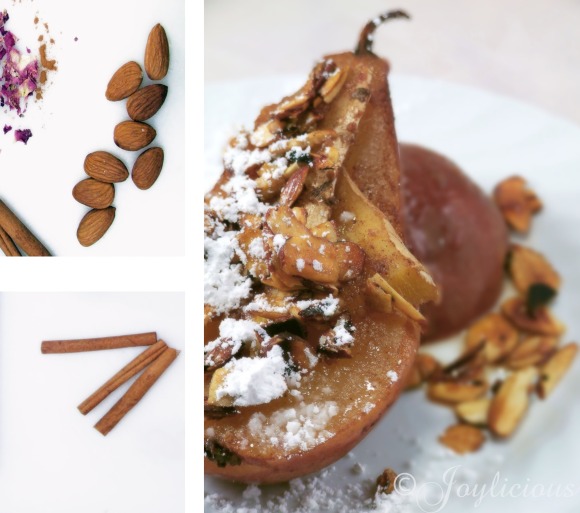
You can serve the roasted pears by itself topped with the candied almonds and a little powdered sugar, or serve with a creamy vanilla or caramel ice cream.  Bon Appetit!!

Tagged , , , , , , , ,

Green Papaya Spring Rolls

Food Blog 022

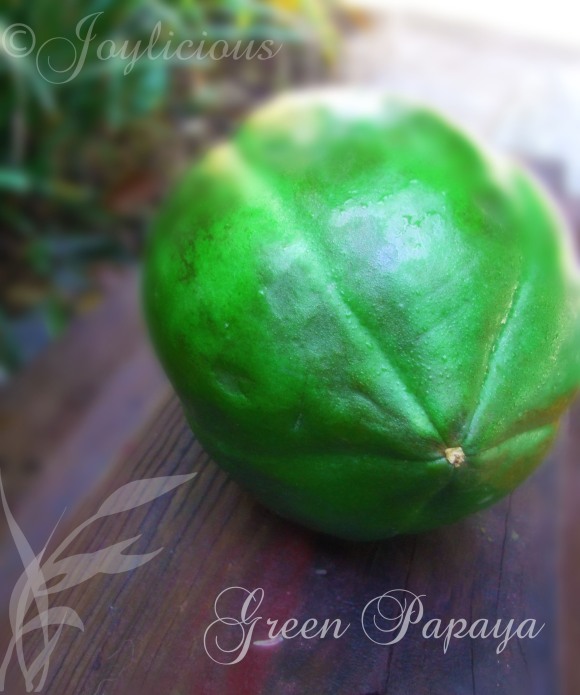
The first time I tried green papaya was at a Thai restaurant, it was served with sticky rice and a marinated beef dish called “Tiger Cry”.  The dish itself did not blow me away, but I loved the green papaya salad.  It had a tangy sweetness with a nice crunchy texture so when I spotted a green papaya at the asian market last week I was intrigued to reproduce the recipe at home.

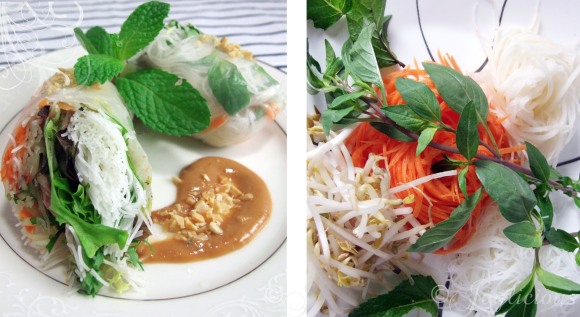
I originally was going to make vegetable spring rolls and a papaya salad, but then my creative button went off in my head and decided to make “green papaya spring rolls” :).  Results? Pretty yummers if I do say so myself and did I mention these are very nutritious and low-fat?   I also made two dipping sauces to go along with it: a spicy peanut sauce and a traditional Vietnamese fish sauce.

When choosing your green papaya, make sure you pick one that is firm with no soft spots or bruises.  The flesh should be a white to light orange in color.  Also, to make shredding easier for the papaya as well as the carrots for the spring rolls, I would invest in either a mandolin slicer or a Titan peeler. Yes I am referring to the infomercial product you see at 3 in the morning.  My best friend gave me one for my birthday and I have to say, I use it every single day because it juliennes better than what I can do freehand.  

Group

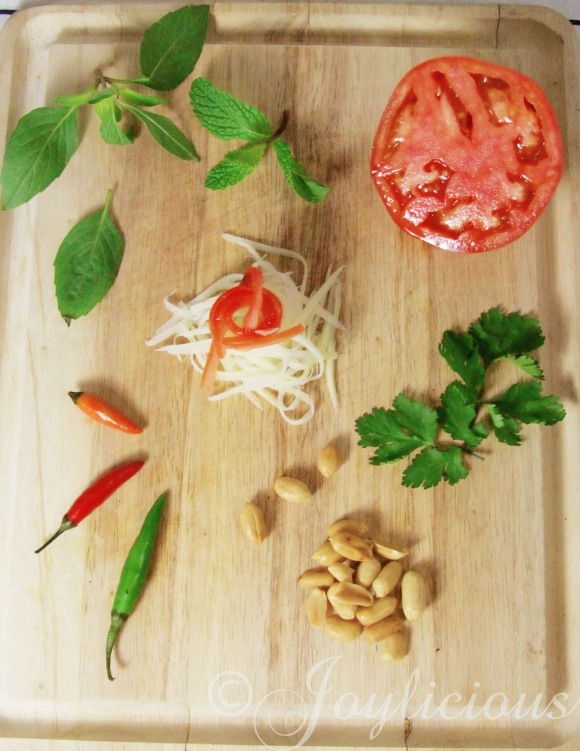
Ingredients for Green Papaya Salad:

  • 1 small green papaya
  • 1/2 cup peanuts, roughly chopped (salted/unsalted)
  • 1-2 cups bean sprouts
  • 1 to 2 tomatoes, cut into long thin strips
  • 1 red chili, minced (add more if you prefer a spicier flavor)
  • 3 green onions cut into ribbons
  • 1/2 cup fresh Vietnamese basil, torn
  • 1/2 cup fresh coriander, chopped
  • 1/2 teaspoon fish sauce (or soy sauce)
  • 2 tablespoon oil
  • 2 tablespoon fish sauce
  • 3 tablespoon lime juice
  • 1/2 to 1 tablespoon honey or agave

For the papaya salad, mix all the liquid ingredients together in a bowl, make sure the honey/agave is fully dissolved.  Set aside.  Peel the outer skin of the papaya, halve it lengthwise and remove the seeds.  Julienne the papaya, if you do not own a mandolin or the famous titan, you can use a potato peeler to create thin ribbons which you can then cut into strips.  Place the papaya in a large bowl and add the sliced tomato, spring onion, chili peppers, and basil.  Toss with the dressing until thoroughly incorporated and then add the chopped peanuts.  Taste the salad and add any sweet,salt,or spice you think is missing.  Place in refrigerator and allow to marinade for at least 30 minutes.

Food Blog 030

Ingredients for Spring Rolls:

  • 12 square rice paper sheets
  • 3 ounces of rice vermicelli
  • 1/2 head of green,red or romaine lettuce ( about 12 leaves)
  • 1 large carrot julienne or shredded
  • 1/4 cup of Vietnamese basil, mint or coriander ( I used all 3)
  • 2-3 cups of Green Papaya Salad

Soak the vermicelli in hot water for 10 minutes until softened.  Take a large pan big enough to fit the rice wrapper and fill with warm water.  You do not want your water to be extremely hot or the paper will become too soft and tear.  Soak the wrapper for about 30 seconds and lay out on a clean, flat surface.

Place your ingredients towards the bottom half of the wrapper — do not add too much or the roll will be too big! Begin with a small handful of lettuce then add the same amount of vermicelli on top.  Place the carrots then the green papaya salad and top with herb mixture. Fold the bottom up, then the two side corners and continue rolling up, making sure the wrapper is kept firmly around the ingredients. With practice, you will be able to predict more precisely about how much ingredients you should put in each roll without making it too big or small.

Food Blog 023

Ingredients for Spicy Peanut Sauce:

  • 1/4 cup of peanut butter (smooth or crunchy)
  • 3/4 cup of water
  • 1 teaspoon Sriracha
  • 1 tablespoon Hoisin Sauce
  • 1 tablespoon chopped peanuts

Mix all ingredients together in a bowl until incorporated.  If the sauce is too thick, add more water, if it is too thin, add more peanut butter.  Garnish with chopped peanuts.

Ingredients for Vietnamese Fish Sauce:

  • 1/3 cup fish sauce
  • 3 tablespoons water
  • 1/2 cup lime juice
  • 6 tablespoons of sugar
  • 1 large garlic clove, crushed, peeled, and minced
  • 1 medium shallot, crushed peeled, and minced
  • 1 Thai chili pepper, seeded, and minced

Whisk together the fish sauce, water, lime juice and sugar in a bowl until sugar is dissolved.  Add the remaining ingredients and allow to marinade for 30 minutes before serving.

Seared Chicken Thigh with Carmelized Leeks & Orange

Group1

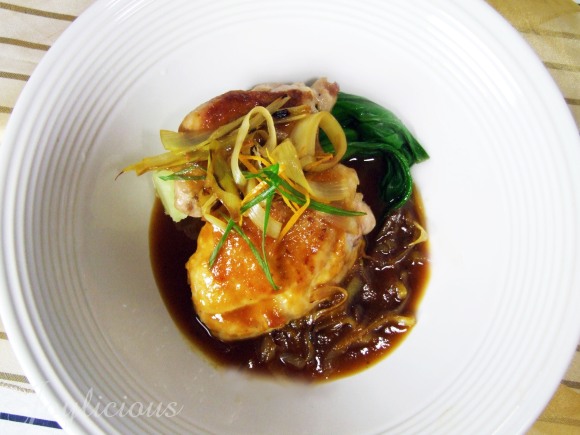
I adapted this recipe from Chanterelle as well — I can’t seem to get my nose out of this cookbook.  The pictures are not only breathtaking but the flavor combinations are absolutely stellar, so I couldn’t help but try all the recipes before returning it to the library.  This recipe originally called for Sweetbreads, which are the thymus glands on a calf — not exactly for the faint hearted.  Personally I am not a fan and it is quite hard to find in your local store so I substituted chicken thighs for this recipe.  You can also use chicken breast if you prefer, but I stick with thigh meat because it is a moister and more flavorful meat.

Food Blog 057

Ingredients for Seared Chicken Thigh with Carmelized Leeks & Orange:

  • 2 pounds of chicken thighs/breast
  • 1 tablespoon kosher salt
  • 1/4 cup plus 3 tablespoons canola or other neutral oil
  • 2 large onions, unpeeled, cut into large chunks
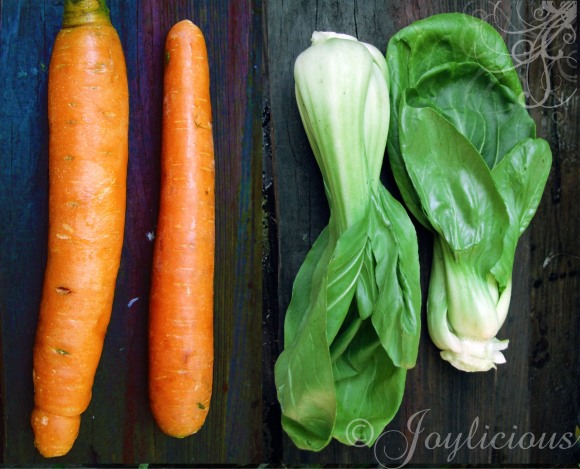
  • 2 large carrots, unpeeled cut into large chunks
  • 2 garlic heads, in their skins, cut in half horizontally
  • 1/2  cup cubed fresh ginger unpeeled
  • 1/4 cup plus 1 tablespoon sugar
  • 1/2 cup water
  • 1 1/4 cups orange juice
  • 2 tablespoons red wine vinegar
  • 6 cups veal stock or chicken stock
  • 3 tablespoons soy sauce
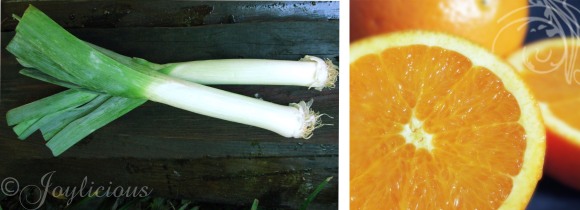
  • 3 large pieces dried orange peel
  • black pepper from a mill
  • 3 cups leeks (white parts only) cut into 3 1/2- x 1/4 inch ribbons and wash well
  • 1 tablespoon unsalted butter softened at room temperature

Food Blog 058

For the sauce, heat 1/4 cup of oil on high heat in a large pot.  Add the ginger, garlic, carrots and onions and cook until lightly browned, about 10 minutes.  Be sure to stir often to prevent the vegetables from burning.

Combine 1/4 cup of the sugar and water in a small heavy-bottomed saucepan over medium-high heat. Continously stir the mixture until it comes to a boil, then stop stirring but continue to heat until the sugar carmelizes into a medium golden brown, about 5 minutes.  Carefully add 1 cup of orange juice and 1 tablespoon of vinegar to the caramel.  Please be careful during this step, add the liquid slowly or else the caramel will bubble over.  Continue to simmer at a medium-high heat and stir until the hardened caramel has dissolved.

Group

Add the caramel mixture to the vegetables and add the stock and soy sauce along with the orange peel, and bring to a slow, steady simmer.  Cook until the sauce is fragrant and slightly reduced, about 50 minutes.  Strain the sauce through a sieve and discard the vegetables.  Place the sauce in a small sauce pan and bring to a boil over medium-high heat.  Cook until the mixture is reduced to 1 cup, about 10 minutes.

This is a method called a “gastrique“, common in a lot of French cuisine.  It is a thick sauce made from a reduction of sugar, vinegar and some type of fruit.

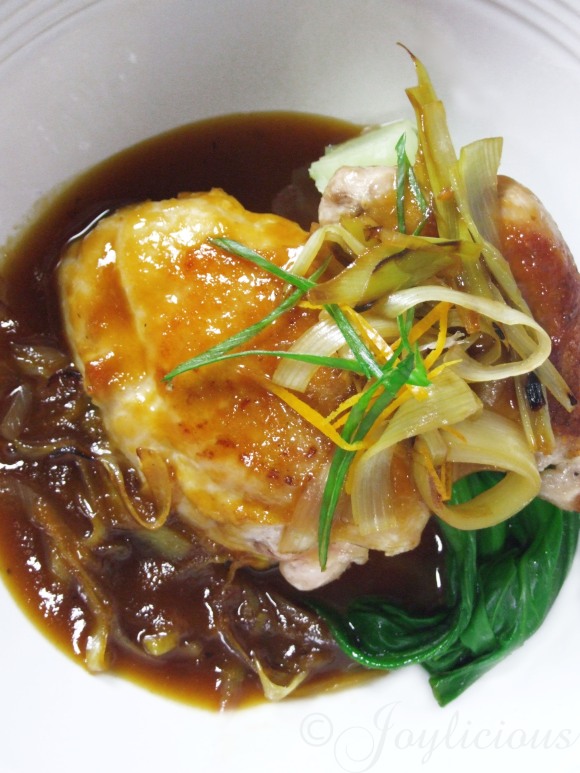
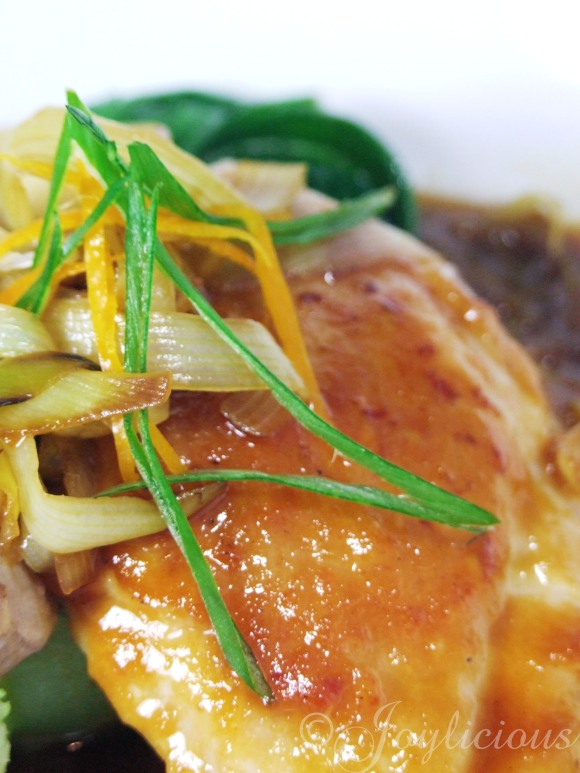
Season the chicken thighs with salt and pepper. Heat 3 tablespoons of oil in a wide, heavy-bottomed saute pan over medium heat.  Add the chicken thighs and brown on each side, about 8-10 minutes.  Do not rinse the pan.  Transfer to a plate, cover and set aside.  Sautee the leeks with 1 tablespoon of sugar over medium heat in the same sautee pan you used for the chicken.  Once it is browned and caramelized, turn the heat high and add the remaining 1/4 cup of orange juice, 1 tablespoon of vinegar, stirring and scraping any brown bits that may be stuck to the pan.  Reduce until the pan is nearly dry and add the sauce, chicken and butter.  Coat the chicken well with the mixture and plate immediately.  Finish off with spooning the sauce around the plate and garnishing with leeks and scallions.  Serve with a side of bok choy steamed or sauteed.
Food Blog 053

This recipe is a little bit more difficult than others, however the results are worthwhile.  I initially attracted to this recipe because of the Asian influences.  It tastes like a General Tso’s Chicken sauce, but with a French twist.  The sauce is rich and complex with the leeks and orange creating a harmonious balance of flavor.

Tagged , , , , , , , ,

Kheer with Pistachio Almond and Cardamom

group

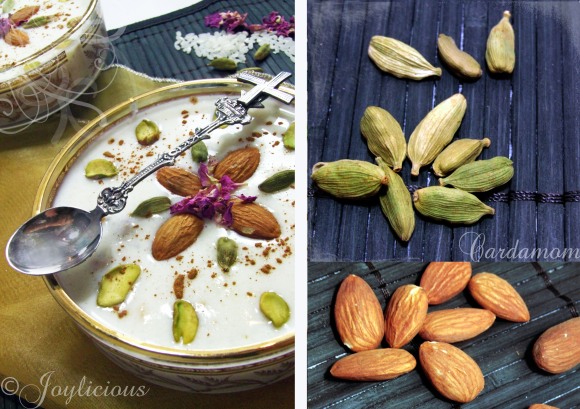
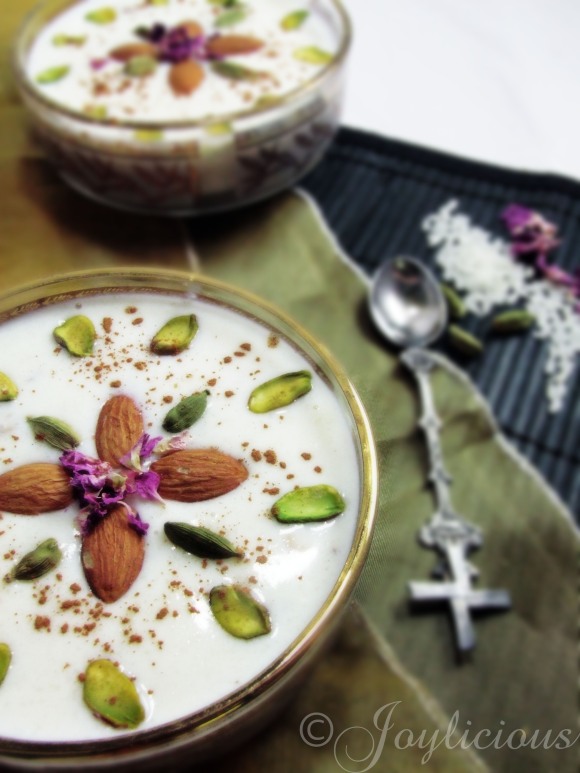
Kheer is a rice pudding that is a very common dessert in India.  It is made from a simple yet flavorful preparation of rice and milk.  This pudding is made with either toasted rice or vermicelli and can be served warm or cold.  The essential ingredients are rice, milk and sugar but different preferences will vary the thickness or thinness of the pudding.

For those of you who are not familiar with Cardamom, it is a common spice used in Indian cuisine, native to the forests of the western ghats in southern India.  You can find ground cardamom powder or maybe even whole cardamom pods at your local grocery store in the spice aisle.  The pods are stronger in flavor, but will be more troublesome because you would have to take out the seeds and ground them.  (But well worth the effort if they are readily available)

Food Blog 024

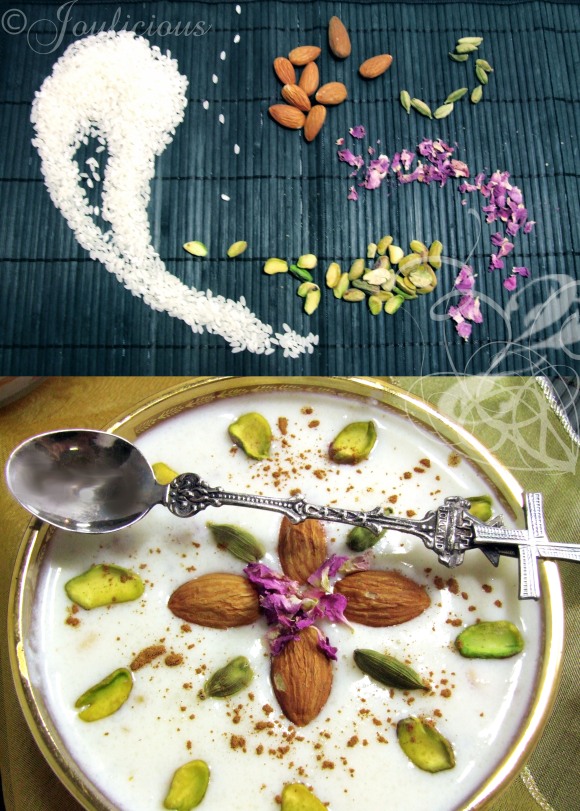
Ingredients for Kheer:

  • 3 – 4 cups of whole milk, diluted with 1 – 2 cups of water depending on what kind of consistency preferred (less water will make it thicker and more water will make it runny)
  • 1 cup basamati rice
  • 1 cup condensed milk
  • 1/2 cup sugar
  • 1 tablespoon raisins
  • 1 tablespoon of pistachios
  • 1 tablespoon of almonds
  • 1 teaspoon finely powdered cardamom seeds

group2

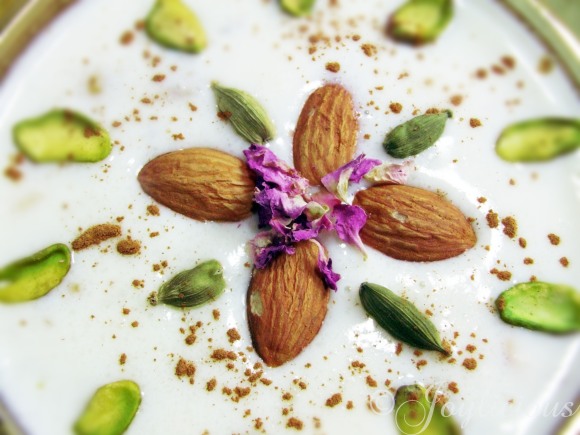
In a medium saucepan, boil the rice in the milk on medium heat until thoroughly cooked. (About 15 minutes)  Continuously whisk the milk to prevent the bottom from burning.  Slowly incorporate the condensed milk and then add the sugar, raisins, and nuts.  Continue to stir until the mixture thickens.  If you prefer the Kheer to be more of a drink than a pudding, simply add more milk and water until the preferred consistency is achieved.  Add the cardamom and garnish with nuts and cinnamon.  Can be served hot or cold.

Food Blog 026

This is actually a great recipe if you have some left over white rice in the fridge.  It will save you the cooking time for the rice.  I sometimes add 1/2 cup of coconut milk in place of the condensed milk to the Kheer which seems to compliment the Caradmom really well.  You can also make this a low-fat recipe by using skim milk instead of whole milk and using honey or agave syrup in place of sugar.

Tagged , , , , , , , ,

Strawberry Cheesecake Cupcakes

Food Blog 272

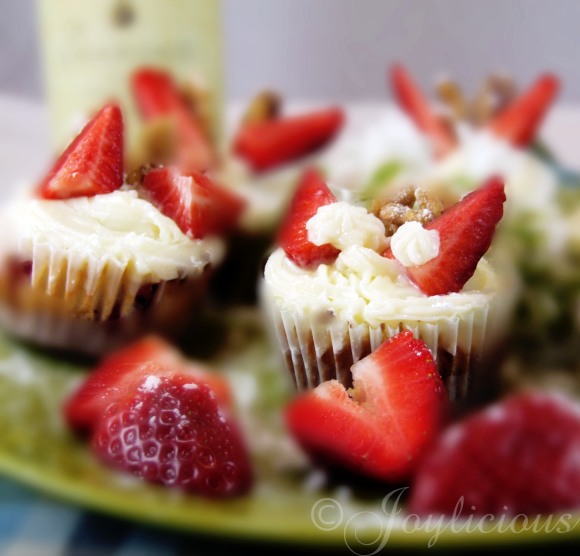
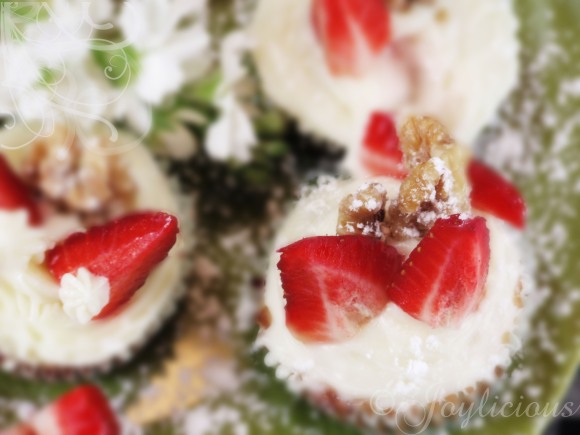
One of my all time favorite desserts has got to be cheesecake.  I love the graham cracker crust and all that cream cheese goodness in every bite.  Then one day, while in one of my gluttonous moods, I thought to myself…what if I took the delicious glory of cheesecake and transform it into a cupcake?  Voila, thus came the creation of the all mighty “strawberry cheesecake cupcakes”.  In some instances I would almost have to say that these are better than cheesecake, with the cream cheese goodness in the icing, graham cracker crust for the bottom, AND THEN a moist vanilla cake with fresh strawberries in every bite!!!  *Exhales* I am in foodie heaven.

group2

Ingredients for Strawberry Cheesecake Cupcakes

  • 3/4 c all-purpose flour
  • 1/2 t baking powder
  • 1/4 t salt
  • 6 T unsalted butter, room temperature
  • 1/2 c + 1 T sugar
  • 1/2 t vanilla
  • 1/4 c sour cream or plain yogurt
  • 2 large egg whites
  • 1/4 cup fresh strawberries, hulled & coarsely chopped
  • 1 package of graham crackers, smashed into crumbs

Ingredients for Cream Cheese Frosting:

  • 4-oz cream cheese, softened
  • 4 T butter, softened
  • 1/4 teaspoon vanilla extract
  • 1 cup sifted confectioners’ sugar

Food Blog 277

Preheat oven to 350 F and prepare 6 – 8 muffin tins.  Sprinkle about 1 t of the crushed graham cracker into the bottom of each prepared muffin tin.
In a small bowl, mix together the flour, baking powder & salt. In a large bowl, cream together butter & sugar until light & fluffy and then add the vanilla & beat on a low-speed.  Then add half the flour mixture until incorporated then mix in the sour cream or yogurt.  Add remaining flour & mix until just blended.
In another bowl beat the egg whites until stiff, glossy peak appear, about 2 minutes. Gently fold 1/3 of the egg into the batter until combined, do not over mix the egg whites or the cake will fall flat. Add remaining egg and fold in the chopped strawberries.  Fill each muffin tin about 3/4 of the way and bake for about 20 minutes depending on your oven.   You can test the doneness by sticking a toothpick through the center, if it comes out clean it is ready to take out!

GROUP
In a large mixing bowl, beat the cream cheese, butter and vanilla together until smooth. Add the sugar and on low speed, beat until incorporated. Increase the speed to high and mix until very light and fluffy.  Spread icing on cupcakes and garnish with fresh cut strawberries — yields 6-8 cupcakes.

Crispy Walnut Wafers

walnut

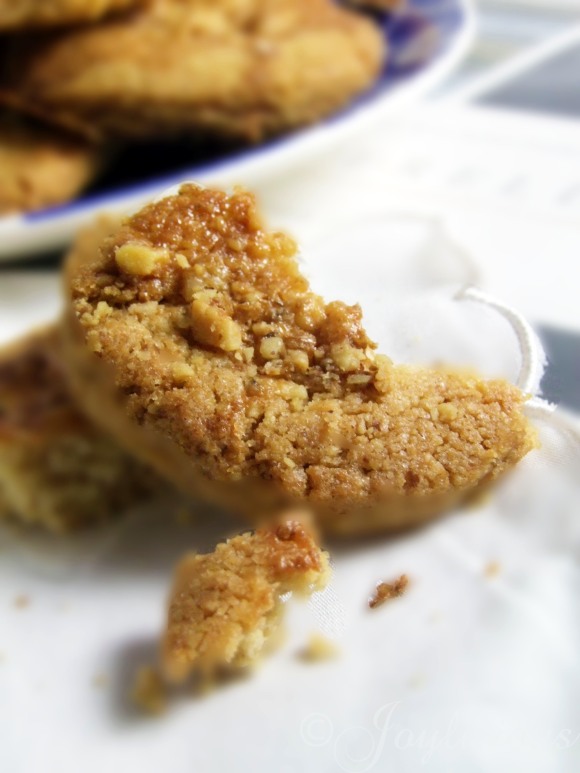
Ode to the Walnut!  Another wonderful gift found during the fall, nuts! I found this recipe in Chanterelle cookbook as well.  I usually like soft chewy cookies, but this recipe was definitely an exception–it was a light, buttery cookie with a slight crunch from the toffee topping.  Granted the words light and buttery usually don’t belong in the same sentence, a few cookies in the tummy never hurt 🙂

group

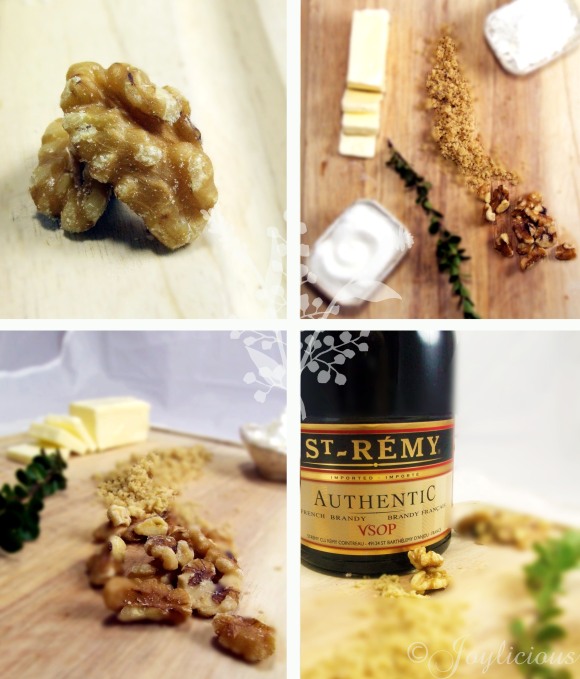
Ingredients for Walnut Wafers:

  • 2 1/2 cups of walnuts
  • 1/4 cup cornstarch
  • 1 1/2 cups plus 1 tablespoon all-purpose flour
  • 1/4 teaspoon salt
  • 3/4 cup (1 1/2 sticks) unsalted butter, softened at room temperature
  • 1 cup of granulated sugar
  • 1 large egg yolk
  • 2 tablespoons brandy

Ingredients for Toffee:

  • 2 tablespoons unsalted butter
  • 2 tablespoons granulated sugar
  • 2 tablespoons dark brown sugar
  • 1/4 cup light corn syrup
  • 1/4 cup heavy cream
  • 1 tablespoon brandy

group2

To make the walnut shortbread dough, grind 2 cups of walnuts with the cornstarch in either a coffee grinder or food processor to form a flour consistency. (Do not over process the walnuts into a paste, this causes the nuts to release all their oils.) Toss the ground walnut mixture with the flour and salt and set aside.  Grind the remaining walnuts to use for garnish until you bake the cookies.

If you are using a stand mixer, use the paddle attachment, or an electric hand mixer will be work.  Cream the butter for 1 minute.  Add the sugar and cream with the butter until it is light and fluffy.  Add the egg yolk and mix for 1 minute.  Add the brandy and beat on medium speed until incorporated.  (30 seconds)

Remove the dough from the bowl and divide into two long logs.  Wrap the logs in a piece of parchment or wax paper and continue to roll until a near perfect cylindrical shape is achieved, 1 to 1 1/2 inches in diameter.  Chill the dough in the refrigerator until firm enough to cut slices that will hold their shape.  The time will vary on the temperature of your refrigerator.  You are also able to freeze this dough for up to a week.

Food Blog 456

To prepare the toffee, bring the butter, both sugars and corn syrup to a boil in a small heavy bottomed saucepan.  Let boil for 1 minute, whisking continuously.  Remove from the heat and let cool for 20 minutes.  Then slowly whisk in the cream until incorporated, (if you add it to quickly, the mixture will vigorously bubble over, it’s preferably 2 tbsp at a time)then finish by whisking in the brandy.  Refrigerate until chilled.
Preheat the oven to 350 F.

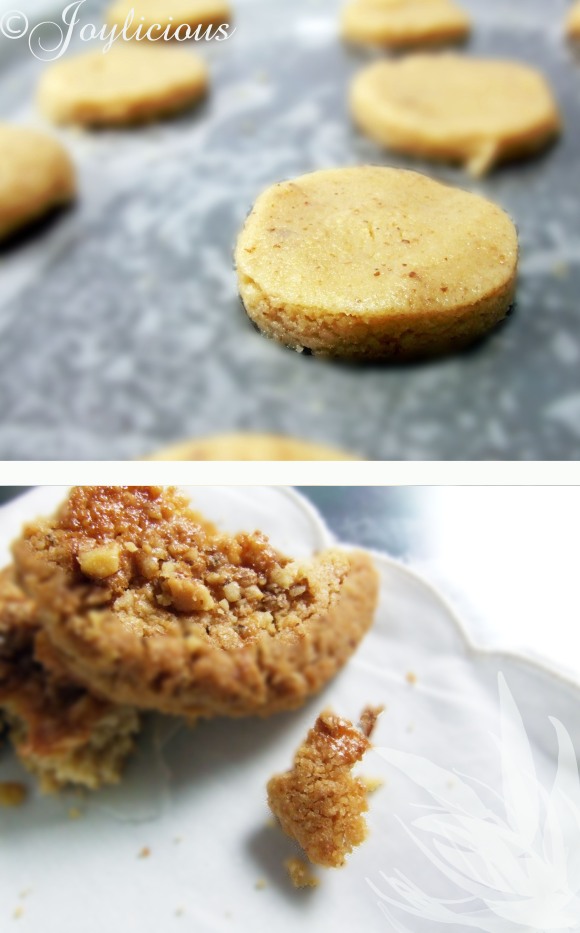
Line cookie sheets with parchment paper.  Cut the logs into 1/4- to 5/16-inch thick slices.  Lay the pieces out on the cookie sheet.  Hold each piece with 3 fingers on one hand while making a slight indentation in the center with the index finger of the your other hand.   Squeeze or spoon the toffee over the indented area. (If you prefer, adding more toffee will have a ‘praline’ effect on the top and sides of the cookie) Garnish with the ground walnuts that were set aside earlier. Bake until toffee spreads and cookie is a deep golden brown color, 10 to 15 minutes.  Let cool before sealing in an airtight container.  They can keep for 2 to 3 days.

Food Blog 457

I am still working on many areas of this site so thank you for being patient :).   I will continue to update my ‘cooking tips’ section (there are a lot!) and offer any helpful tips I can think of along the way.

Tagged , , , ,

Double Chicken Broth w/Vermicelli Tofu and Shiitake Mushrooms

Foodblog

It is finally starting to feel like Fall in Texas and I wasted no time unpacking my scarves, sweaters and jackets.  Cold weather is short-lived here, so the minute I feel the brisk breeze, the refreshing sense of a chill, I rush to embrace all that is Fall — my favorite season of the year.

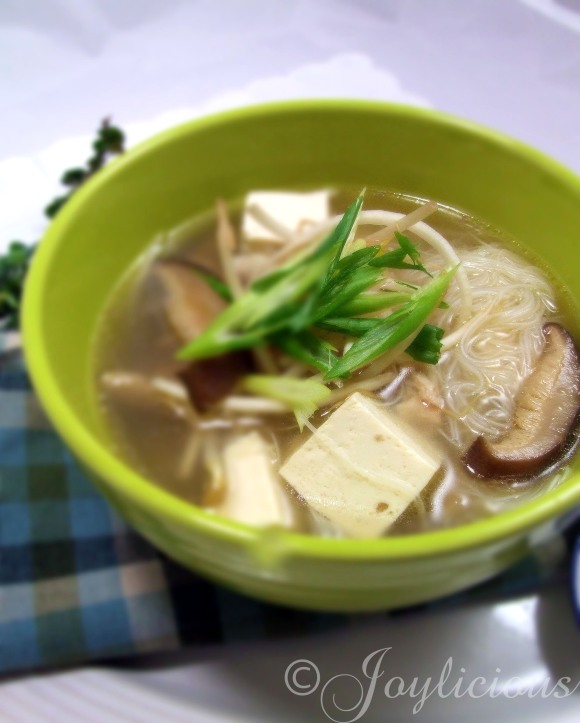
With cold, comes the need for comfort.  The nights have dropped down to the low 40s recently so I figured, what better relief for your tummy (and soul) than a big giant bowl of chicken soup?  My mom often made this soup for me as a child.  I always enjoyed the perfect combination of aromas of shiitake, ginger and chicken slowly simmering away, filling the entire house of comforting goodness.  Usually this broth simmers for the entire day to draw the flavor out of the bones, but to save cooking time I am using a store-bought chicken broth.  “Double Chicken Broth” means that chicken broth is used to poach more chicken, resulting in a richer and more intensely flavored broth.

Food Blog 402

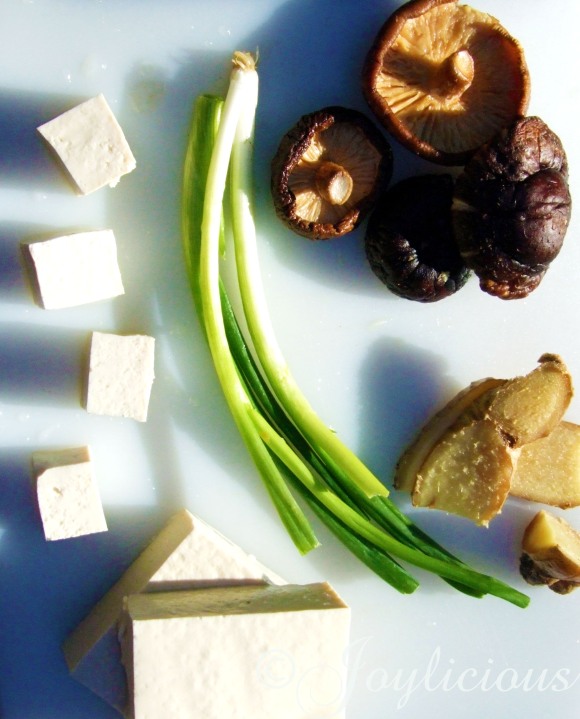
Ingredients for Double Chicken Broth:

  • 1/2 pound chicken breast/thigh, boneless, skinless
  • 2 quarts store bought chicken broth
  • 1 quart of water
  • 2 slices of ginger – about 1/2″ inch
  • 4-6 dried shiitake mushrooms
  • 1/2 teaspoon ground white pepper
  • salt to taste
  • 1 package of firm tofu – cut into 1″ cubes
  • 1 package of rice vermicelli
  • bean sprouts and scallions for garnish

Food Blog 396

For the Double Chicken Broth, rehydrate the shiitake mushrooms by placing them in a bowl of warm water for 15-20 minutes.  Trim any visible fat from the chicken breast/thigh and discard.  Place the chicken breast/thigh in a big pot and cover with stock and water.  Bring to a boil and add ginger and mushrooms.  Reduce to a medium-low heat and let simmer for 40 minutes.  Meanwhile place the tofu on absorbent paper and allow it to drain.  and prepare the noodles.  Different brands will differ in cooking time, but vermicelli noodles cook fast.  Once the water is boiling, don’t leave the noodles in for longer than a minute and immediately drain with cold water.  Prepare the garnishes and set aside.

Taste the broth and season with salt accordingly.  Add tofu and strain mushrooms and chicken from the broth.  Cut into strips when cool enough to handle and place in each serving bowl with 1/2 cup of vermicelli noodles.  Add hot broth and tofu over each bowl when ready to serve.  Garnish with cut scallions and bean sprouts and finish with a pinch of ground white pepper.

Food Blog 405

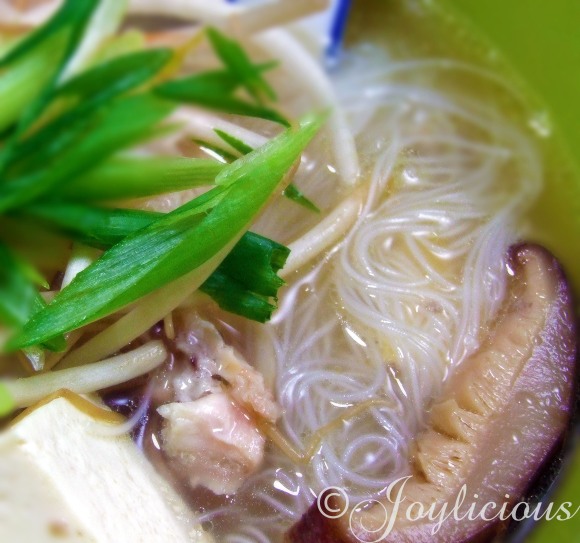
I really love the different textures in this soup — the crunchiness of the bean sprouts, the chewiness of the juicy shiitakes, paired with the thin rice noodles swimming in a supple delicate broth.  Simply divine.   If you have any questions on how to actually make double chicken broth from scratch, contact me and I can give you the recipe.

Tagged , , , , , , , ,

Salmon with Coconut Citrus Butter & Chive Mashed Potatoes

102309

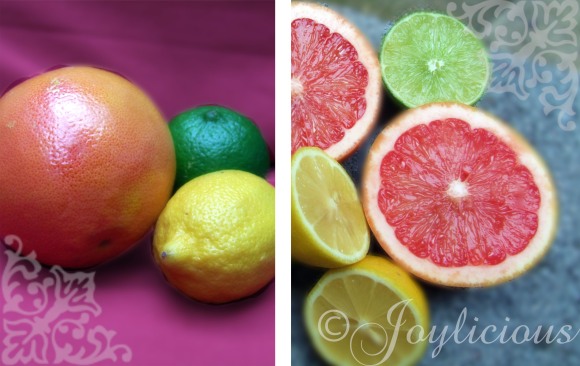
Citrus citrus citrus! Fall is the start of citrus season and I couldn’t wait to get my hands on some beautiful greens, yellows, reds and oranges.  I always enjoy the bright aromas and acidity of these little fruits and thought what better way to celebrate their flavors than with a vibrant sauce featuring grapefruit, orange, lemon and lime juices.

Here are some tips on picking good quality citrus produce:

  1. Feel how heavy the fruit is.  The heavier, the better — it means there is more water content!
  2. Look for thin smooth peels. Don’t pick the ones with the thick porous skin, the ones that are as smooth as a baby’s bottom are the best! Or else you’re stuck with a thick rind and less fruit.  (That is no bueno)
  3. Avoid any fruit that feels soft or mushy, more than likely it is rotten on the inside.
  4. Smell the fruit. A sweet aroma usually means a stronger and sweeter citrus flavor.

If at all possible, use wild salmon opposed to farm-raised.  Wild salmon is more flavorful but if it is not readily available farm-raised is a perfectly viable alternative.

22

I found this wonderful recipe from my Chanterelle cookbook and changed a few things.  It was a cumin crusted salmon with citrus butter but I didn’t have cumin so I left it off and used coconut milk in place of the heavy cream.  I also cut down half the amount of butter and still got great results.

Ingredients for Salmon and Coconut Citrus Butter

  • 1/2 cup dry white wine
  • 1/2 cup freshly squeezed pink grapefruit juice
  • 1 cup freshly squeezed orange juice
  • 2 tablespoons freshly squeezed lemon juice
  • 1 tablespoon freshly squeezed lime juice
  • 1/4 cup heavy cream (I used coconut milk)
  • 1/2 lb of unsalted butter (I only used 4 tbsp)
  • kosher salt
  • pinch of sugar, if necessary
  • 4 x 6 oz salmon fillets, at least 1 inch thick, skin and any pin bones removed
  • coarse black pepper
  • 3 tablespoons of canola

To make the citrus butter, combine the wine and citrus juices in a medium saucepan over medium heat.  Bring to a simmer and cook until reduced to a syrupy consistency, about 10 minutes.  This process should be watched over closely, because of the high sugar content it can burn easily.  Add the cream and bring to a boil.  Remove the pan from the heat and whisk in the cold butter, a few pieces at a time, making sure it is completely incorporated before adding more.  Season with salt if it lacks taste and sugar if it is too tart.  You can keep the sauce at room temperature for up to an hour and reheat at a low heat just before serving.

11

Take the salmon fillets and place them on a clean, dry surface.  Season both sides with salt and pepper.  Meanwhile, heat a large saute pan over medium-high heat until hot.  Add the oil and turn the pan to coat the bottom with oil, allowing it to heat for a minute or two.  Place the fillets, skin side down for 2 to 3 minutes then turn the fillets over and cook the other side for the same amount of time or until the desired level of doneness is achieved.  The thickness of the cut may affect cooking time so please adjust accordingly.

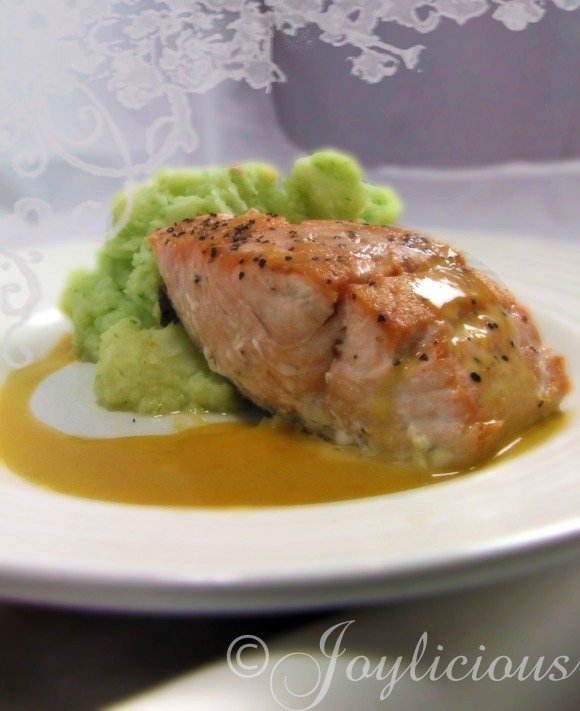
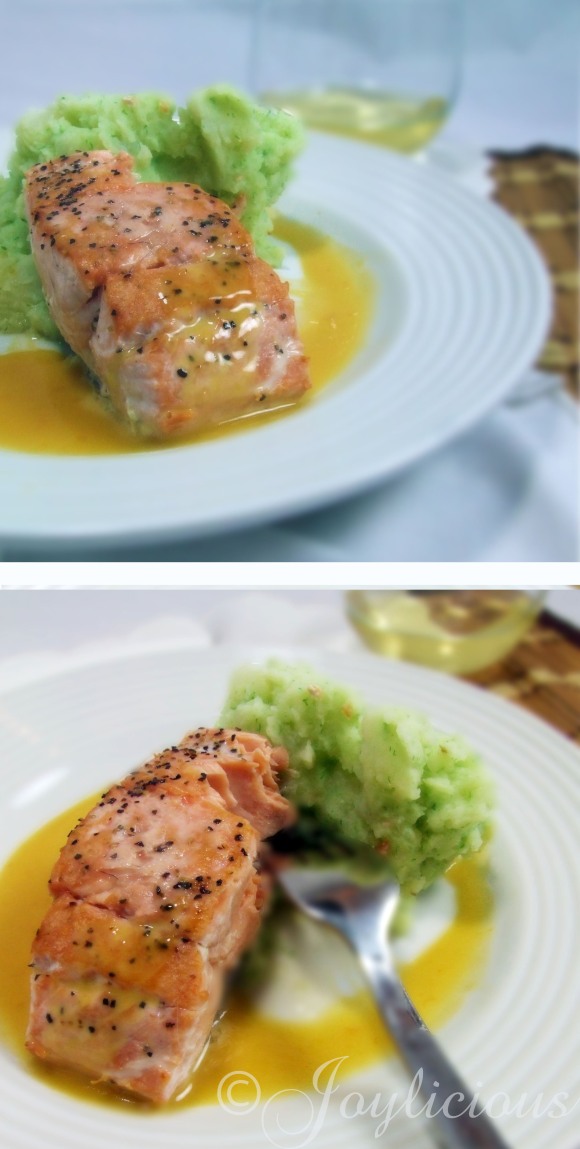
Spoon a mound of mashed potatoes into the center of the plates.  Drizzle with the warm citrus butter around the potatoes and top with a salmon fillet.

Tagged , , , , , , ,